How to set up the wireless 3D personal viewer.
- Connect the source device or playback equipment and a TV to the processor unit.
- Using the supplied HDMI® cable, connect the source device to the HDMI IN on the back of the Processor unit.
- Using a second HDMI cable connect the HDMI OUT of the Processor unit to an HDMI IN on the TV.
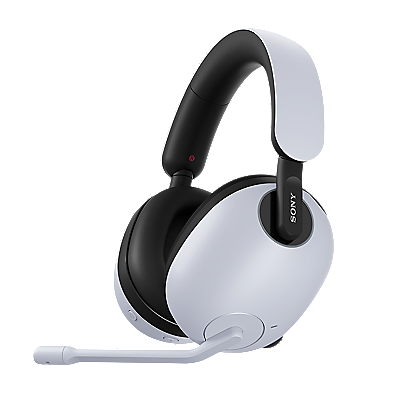
- Connect the mini plug of the supplied headphones to the headphone jack. The headphone jack can be found on the inside, left of the head mount display.
- Connect the power cord to the processor unit and to an active AC wall outlet.
- Turn on the 3D system.
- Turn on the source device and the TV.
- Set the TV to the appropriate HDMI input.
- Press the INPUT button on the processor unit to select the appropriate input.
NOTE: The HDMI INPUT indicator will light orange to indicate which input is selected. - Set the battery unit on a stable surface and at the recommended distance away from the processor unit.
NOTES:- The radio waves may not transmit properly if the SONY logo on the battery unit is not facing up or in the direction of the processor unit.
- Make sure there are no obstructions between the processor unit and the battery.
- Place the head mount unit on your head and adjust it to a comfortable fit .
- Set up the head mount display .
- Begin playing the desired movie, TV show or game from the source device.


